Hey there! Last day of Leadership was today. Sad. But Leadership being over means I will be on my way home on Sunday and start getting ready to share all I have learned with my stampers and my downline! Sweet! I had a fabulous time at Leadership, it's true, but now it's time to go home and put all these great new ideas into practice! I can hardly wait! yay!
Here's more of the pictures I wanted to share with you last night but the hotel internet wouldn't let me upload:

The Demonstrator Resource Center, in addition to the Blendabilities demonstration, also had a girl making tons of these adorable flowers with the Spiral Flower Die. So cute! Depending on how tightly you roll them, how much you let them relax after rolling, and where you adhere them, you can make an endless variety of shapes and sizes of flowers! The one on the right is a sucker treat. You just cut the flower with the die, but then instead of rolling tightly and adhering you just punch a hole in the base of the spiral and insert a sucker on a stick! Key-utte! These would make fun valentine or birthday party favors!
Here's another treat flower, only this time the flower has been adhered together with Secret Garden Framelit-cut leaves and a Pearl Basic Jewel added! The flower and the sentiment from Love You to the Moon have been added to the lollipop package with Glue Dots.

 More possibilities with the Spiral Flower Die.

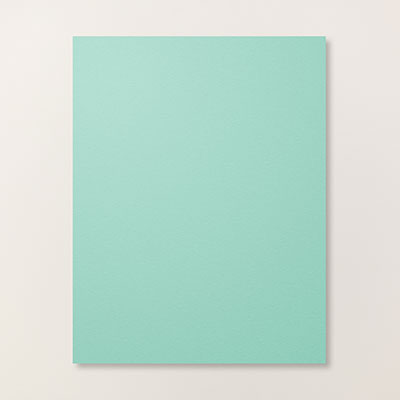
Sponged edges with Crisp Cantaloupe ink and the die will cut felt, (and fabric too!).

Gold glittered edges . . .

A flowery heart wreath!

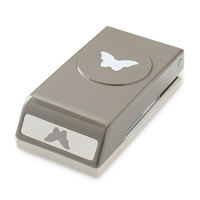
Another style of flower you can create with a new Occasions Catalog product, the Fringe Scissors! At $9.95, these 5-bladed scissors are a great value!

Here's a couple of swaps I was able to take pictures of! The People Like You stamp has been clear embossed on Very Vanilla which had already been stamped with the En Francais background. After clear embossing, the creator of this swap (I just took a picture of this one, I don't have the original to be able to give you the creator's name!) then sponged or brayered the Pear Pizzazz and then Marina Mist (I think) ink over the image. Embossed images will resist the ink, allowing you to wipe away the excess ink with a tissue. The technique is called "emboss resist"! LOVE it!

Finally, the creator of this swap achieved a lovely vintage look with the Beautifully Baroque Textured Impressions Folder, Pink Pirouette and Very Vanilla cardstock, Victoria Crochet Trim, Petite Petals stamp and Petite Petal punch, Ovals Collection Framelits, Pearls Basic Jewels,******* greeting, and Crumb Cake sponging!
Well, I've got to close for now and go get packed! Our flight takes off at 2:05 tomorrow afternoon!
You can shop my Online Store by clicking HERE.
Until tomorrow, have a Stampingrox! day!
All products used are ©Stampin'Up!™1990-2014