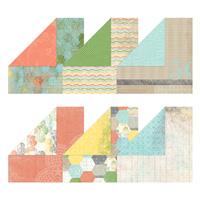
Hey there! As promised, here is another Reverse Easel card, this time with the "Hello, Lovely" stamp set and Epic Day This and That Designer Series Paper.
Tip: Designer Series Paper (aka DSP) is the lovely 2-sided paper Stampin' Up! sells. There's a different design on each side of each sheet. Lots of choices! yay!

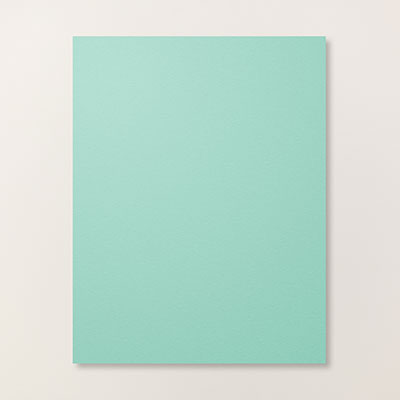
My card base is Gumball Green, layered with Pool Party, then the Epic Day paper, and tied with a Gumball Green 3/8" Stitched Satin Ribbon.

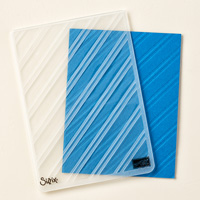
I brayered a Tea Lace Doily with Pool Party ink, then layered on a Whisper White strip that I embossed with one of the Delicate Designs Textured Impressions Folders and my Big Shot.
I inked my stamp with Gumball Green and Pool Party markers, then punched the image with the Decorative Label Punch. I layered a couple of Pool Party Decorative Labels behind the greeting before adhering to the card over the ribbon with Stampin' Dimensionals.
Tip: Stampin' Dimensionals give the perfect "lift" for both interest and to let the ribbon do it's job without popping the label off.
Lastly, I added a Summer Starfruit In Color Dahlia to make it all pop!
Pssst. . . Gumball Green and Summer Starfruit are 2012-2014 In Colors, which will be retiring at the end of May, so if you want these colors in cardstock, ink, markers, ribbon or Dahlia's, you need to order them now!

Inside I stamped a sentiment from "Take Care", cut it out with a Deco Label Framelit, and then layered a Pool Party Deco Label behind it.
Here's my tutorial for the "Reverse Easel" technique:
Card base dimensions: 12" x 4", scored at 2", 5 1/2", and 9".
Lay 3" long end of the card base up against the ruler of the Envelope Punch Board, putting the left edge at 1 1/2". Punch but do not score.

Flip the card over and repeat with the left edge again at 1 1/2". You will have one "peak" along the edge.

You will cut off the ends of the cardstock from the peak out to the corners of the card base with the Paper Trimmer.

One end of your card base will now have a tab that looks like this:

On the opposite end, line up the Word Window Punch as shown to punch a slot to insert the tab when the card is standing up. I lined up the "patent numbers" on the back of the punch with the fold of the card base, then "eye-balled" the sides for eveness. ("eye-balled" is my word for guessing as accurately as I can just by looking but not measuring. I was an awful "eye-baller" when I started stamping 11 years ago, but I'm much better now!)

After folding on all the scored lines, here's what my card base looks like:

Insert the tab on one end into the slot on the other end:

You now have a little easel. I adhered the card front to one side with Sticky Strip.

The folds will lay flat to insert into an envelope!

That's all for now! See the supply list to create this card below. All items can be ordered from My Online Store. Until tomorrow, have a Stampingrox! day!