Category: Christmas Cards & Projects

Stampin’ Up! Another Treat Bag, This Time With Ornamental Pine!

Stampin’ Up! Another Treat Bag, This Time With Ornamental Pine!

Hey there! It's Friday already. How did this week go by so fast? I still have SO MUCH to do! YIKES!!!

Today's treat bag is NOT the last one, there are still a few more coming!

Stampin_up_ornamental_pine_1

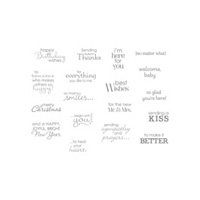
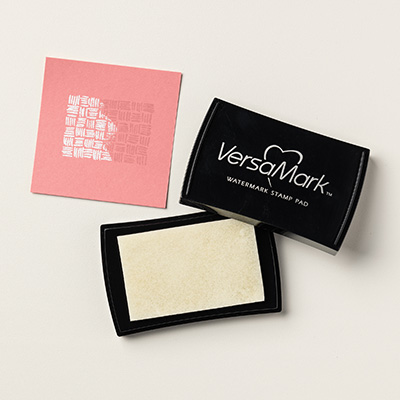
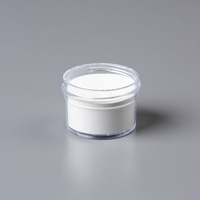
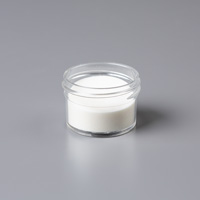
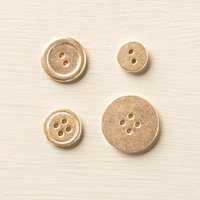
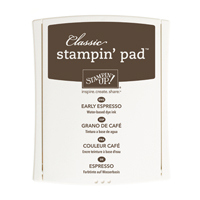
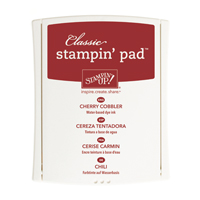
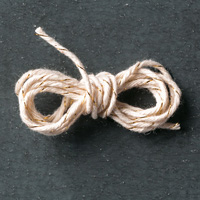
I heat-embossed the branch from Ornamental Pine with white powder on the bag I fashioned from Whisper White Vellum. I stamped the pinecones with Early Espresso Classic ink, then quickly sprinkled them with Clear embossing powder. Our Classic ink, while a water-based dye ink, stays wet longer than our old classic ink, so you can emboss it if you work fast! After heating with my Heat Tool I hand-cut the pinecones with Papper Snips. I added the Petite Pairs greeting, Bird Punch leaves, Gold Basic Metal Button, and Cherry Cobbler Baker's Twine knot on the button with Glue Dots.

I closed this bag with a bit of Cherry Cobbler Sheer Linen Ribbon tied in a knot. Easy-Peasy!

That's all for now. Here's your shopping list for my online store: www.carolpayne.stampinup.net

You can order from my store any time of the day or night, BUT I need to let you know that starting next week, Monday, November 24, Stampin' Up! will be hosting an Online Extravaganza sale with discounts on select items and bundles, so you need to check it out next week! There will also be door-buster specials on the first day, Monday November 24 and the last day, Monday December 1st!

Heat Tool

$29.95
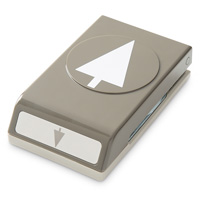
Bird Punch

$16.95

Until tomorrow, have a Stampingrox! Day!

All images ©Stampin'Up!™1990-2014

Stampin’ Up! Another Treat Bag, This Time With Ornamental Pine!

Stampin’ Up! Another Treat Bag, This Time With Ornamental Pine!

Hey there! It's Friday already. How did this week go by so fast? I still have SO MUCH to do! YIKES!!!

Today's treat bag is NOT the last one, there are still a few more coming!

Stampin_up_ornamental_pine_1

I heat-embossed the branch from Ornamental Pine with white powder on the bag I fashioned from Whisper White Vellum. I stamped the pinecones with Early Espresso Classic ink, then quickly sprinkled them with Clear embossing powder. Our Classic ink, while a water-based dye ink, stays wet longer than our old classic ink, so you can emboss it if you work fast! After heating with my Heat Tool I hand-cut the pinecones with Papper Snips. I added the Petite Pairs greeting, Bird Punch leaves, Gold Basic Metal Button, and Cherry Cobbler Baker's Twine knot on the button with Glue Dots.

I closed this bag with a bit of Cherry Cobbler Sheer Linen Ribbon tied in a knot. Easy-Peasy!

That's all for now. Here's your shopping list for my online store: www.carolpayne.stampinup.net

You can order from my store any time of the day or night, BUT I need to let you know that starting next week, Monday, November 24, Stampin' Up! will be hosting an Online Extravaganza sale with discounts on select items and bundles, so you need to check it out next week! There will also be door-buster specials on the first day, Monday November 24 and the last day, Monday December 1st!

Heat Tool

$29.95
Bird Punch

$16.95

Until tomorrow, have a Stampingrox! Day!

All images ©Stampin'Up!™1990-2014

Stampin’Up! Natures Peace!

Stampin’Up! Natures Peace!

Hey there! It's a Liam day again today! yay! He's starting to be so much more verbal! When he was here on Tuesday he was counting, "one,two, two, one", and later when I spoke to his mama on the phone after he went home he kissed my picture on her phone and said, "Mamie, Papa, wanna go?" I know, it's the little things, isn't it? Who knows what he will say today?

My project for you today is a Real Red treat bag white heat-embossed with the main image from Nature's Peace:

Stampin_up_natures_peace_1

I fell in love with this gorgeous image as soon as I found it in the Holiday Catalog. It reminds me of cards we received years ago from some friends of my parents. After embossing the image with white powder on the Real Red bag I decided to not detract from the beauty with a lot of embellishment. I just added a simple knot of Gold Satin Ribbon and dangled an All is Calm Snowflake Embellishment:

Stampin_up_all_is_calm_snowflake_embellishment_1

I colored the silver snowflake with my Daffodil Delight Blendability marker, then tied it to the handle of the bag with a thread I separated from a piece of Gold Metallic Baker's Twine.

That's all for now. Here's your shopping list for today's project. You can order everything you need from my Online Store: www.carolpayne.stampinup.net

Heat Tool

$29.95


Until tomorrow, have a Stampingrox! day!

 All images ©Stampin' Up!1990-2014

Stampin’Up! Natures Peace!

Stampin’Up! Natures Peace!

Hey there! It's a Liam day again today! yay! He's starting to be so much more verbal! When he was here on Tuesday he was counting, "one,two, two, one", and later when I spoke to his mama on the phone after he went home he kissed my picture on her phone and said, "Mamie, Papa, wanna go?" I know, it's the little things, isn't it? Who knows what he will say today?

My project for you today is a Real Red treat bag white heat-embossed with the main image from Nature's Peace:

Stampin_up_natures_peace_1

I fell in love with this gorgeous image as soon as I found it in the Holiday Catalog. It reminds me of cards we received years ago from some friends of my parents. After embossing the image with white powder on the Real Red bag I decided to not detract from the beauty with a lot of embellishment. I just added a simple knot of Gold Satin Ribbon and dangled an All is Calm Snowflake Embellishment:

Stampin_up_all_is_calm_snowflake_embellishment_1

I colored the silver snowflake with my Daffodil Delight Blendability marker, then tied it to the handle of the bag with a thread I separated from a piece of Gold Metallic Baker's Twine.

That's all for now. Here's your shopping list for today's project. You can order everything you need from my Online Store: www.carolpayne.stampinup.net

Heat Tool

$29.95


Until tomorrow, have a Stampingrox! day!

 All images ©Stampin' Up!1990-2014

Stampin’ Up! Festival of Trees Vellum Treat Bag!

Stampin’ Up! Festival of Trees Vellum Treat Bag!

Hey there! Today will be a busy day. They are finally shelling the corn here on our property so I'm making lunch for the "men", something easy to keep ready, as they will be in and out in shifts, so I'm making Taco Soup! yummy!

Today I have another treat bag for you, this time created with Gold Fancy Foil Vellum cardstock and the Festival of Trees Bundle:
Stampin_up_festival_of_trees_1
For those of you who have been wondering, the bag is 8 1/2" x 5", scored at 1/2", 3 1/4",4 1/2", and 7 1/4" up from  the long side, and then 1 1/4" up from the right end of the short side. I used a tutorial I found here to learn how.

After gold heat-embossing the tree, I punched it with the Tree Punch and then layered it over a 1 3/4" Scallop Circle punched from a Gold Foil Sheet. The gold-embossed greeting is also from Festival of Trees, punched with the Word Window Punch.

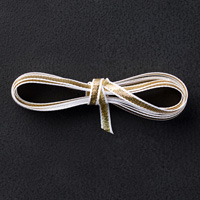
I tied the top of the bag together with a bit of Gold 1/8" Ribbon.

That's all for now! I will be sharing another little treat bag tomorrow, so come on by and check it out!

Here's your shopping list to create today's bag. You will find all these supplies to order in my Online Store: www.carolpayne.stampinup.net

Tree Punch

$16.95
Heat Tool

$29.95

 Until tomorrow, have a Stampingrox! day!

 All images ©Stampin'Up!™1990-2014

Stampin’ Up! Festival of Trees Vellum Treat Bag!

Stampin’ Up! Festival of Trees Vellum Treat Bag!

Hey there! Today will be a busy day. They are finally shelling the corn here on our property so I'm making lunch for the "men", something easy to keep ready, as they will be in and out in shifts, so I'm making Taco Soup! yummy!

Today I have another treat bag for you, this time created with Gold Fancy Foil Vellum cardstock and the Festival of Trees Bundle:
Stampin_up_festival_of_trees_1
For those of you who have been wondering, the bag is 8 1/2" x 5", scored at 1/2", 3 1/4",4 1/2", and 7 1/4" up from  the long side, and then 1 1/4" up from the right end of the short side. I used a tutorial I found here to learn how.

After gold heat-embossing the tree, I punched it with the Tree Punch and then layered it over a 1 3/4" Scallop Circle punched from a Gold Foil Sheet. The gold-embossed greeting is also from Festival of Trees, punched with the Word Window Punch.

I tied the top of the bag together with a bit of Gold 1/8" Ribbon.

That's all for now! I will be sharing another little treat bag tomorrow, so come on by and check it out!

Here's your shopping list to create today's bag. You will find all these supplies to order in my Online Store: www.carolpayne.stampinup.net

Tree Punch

$16.95
Heat Tool

$29.95

 Until tomorrow, have a Stampingrox! day!

 All images ©Stampin'Up!™1990-2014
Stampin’ Up! Many Merry Stars Treat Bag!

Stampin’ Up! Many Merry Stars Treat Bag!

Hey there! It's a Liam Day today! He arrived a little after 7:30 a.m. in his jammies with his hood up on his coat as it was FREEZING-CHILLY-COLD here this morning!

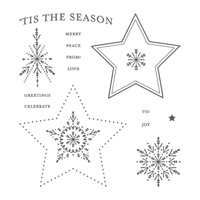
Today I have another litte treat bag, this time using the Many Merry Stars stamp set from the Holiday Supplement, the Stars Framelits, and the Confetti Stars Punch:

Stampin_up_many_merry_stars_1

Pretty quick and easy! This little bag whips up really fast!

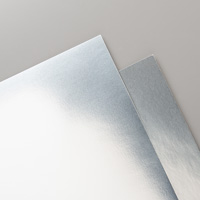
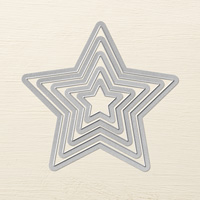
After silver heat-embossing the star image, I cut it out with a Star framelit, then cut out the next-size-larger star from Silver Foil paper. I backed the stars on the top edge, punched with the Confetti Stars punch, with Silver Foil paper too.

A rhinestone in the center of the star and the Word Window-punched greeting from Petite Pairs finishes it off perfectly!

Here's today's supply list. You will find everything you need in my Online Store: www.carolpayne.stampinup.net

Heat Tool

$49.95


Here's the new Weekly Deals from Stampin' Up! just announced today:

10407636_10204495554383012_2707433299067967686_n

Until tomorrow, have a Stampingrox! day!

All images ©Stampin'Up!™1990-2014
Stampin’ Up! Many Merry Stars Treat Bag!

Stampin’ Up! Many Merry Stars Treat Bag!

Hey there! It's a Liam Day today! He arrived a little after 7:30 a.m. in his jammies with his hood up on his coat as it was FREEZING-CHILLY-COLD here this morning!

Today I have another litte treat bag, this time using the Many Merry Stars stamp set from the Holiday Supplement, the Stars Framelits, and the Confetti Stars Punch:

Stampin_up_many_merry_stars_1

Pretty quick and easy! This little bag whips up really fast!

After silver heat-embossing the star image, I cut it out with a Star framelit, then cut out the next-size-larger star from Silver Foil paper. I backed the stars on the top edge, punched with the Confetti Stars punch, with Silver Foil paper too.

A rhinestone in the center of the star and the Word Window-punched greeting from Petite Pairs finishes it off perfectly!

Here's today's supply list. You will find everything you need in my Online Store: www.carolpayne.stampinup.net

Heat Tool

$49.95


Here's the new Weekly Deals from Stampin' Up! just announced today:

10407636_10204495554383012_2707433299067967686_n

Until tomorrow, have a Stampingrox! day!

All images ©Stampin'Up!™1990-2014

Stampin’ Up! Santa Owl!

Stampin’ Up! Santa Owl!

Hey there! Now that the Stampers Dozen Blog Hop is over this month, I can start showing you the rest of the projects I created!

Today's project is another little gift bag embellished with a "Santa Owl"!

Stampin_up_owl_punch_1

I used Under the Tree Specialty Designer Series Paper for the bag. This paper is extra heavy, so nice and sturdy. I love this "snowflake" print in white on the kraft colored paper.

I created the owl using the Owl Builder Punch, the 1 3/4" Scallop Circle Punch, and the Petite Pennants Builder Punch. His vest is punched from another print from the Under the Tree Specialty Designer Series Paper, and the sparkle on his hat is punched from Dazzling Diamonds Glimmer Paper with the same size circle on the Owl Builder Punch as the pupils of this eyes. There are SO MANY uses for the Owl Punch!

Frosted Sequins add the perfect finishto the Word Window-punched Petite Pairs greeting, don't you think?

That's all for now. LOTS on my plate this week, so I've got to get busy!

Here's the supply list for todays' project. You can order all of your supplies in my Online Store: www.carolpayne.stampinup.net

Or click on any image below to find it in my store:

Product List

Owl Punch

$16.95

Until tomorrow, have a Stampingrox! day!

All images ©Stampin'Up!™1990-2014
Stampin’ Up! Santa Owl!

Stampin’ Up! Santa Owl!

Hey there! Now that the Stampers Dozen Blog Hop is over this month, I can start showing you the rest of the projects I created!

Today's project is another little gift bag embellished with a "Santa Owl"!

Stampin_up_owl_punch_1

I used Under the Tree Specialty Designer Series Paper for the bag. This paper is extra heavy, so nice and sturdy. I love this "snowflake" print in white on the kraft colored paper.

I created the owl using the Owl Builder Punch, the 1 3/4" Scallop Circle Punch, and the Petite Pennants Builder Punch. His vest is punched from another print from the Under the Tree Specialty Designer Series Paper, and the sparkle on his hat is punched from Dazzling Diamonds Glimmer Paper with the same size circle on the Owl Builder Punch as the pupils of this eyes. There are SO MANY uses for the Owl Punch!

Frosted Sequins add the perfect finishto the Word Window-punched Petite Pairs greeting, don't you think?

That's all for now. LOTS on my plate this week, so I've got to get busy!

Here's the supply list for todays' project. You can order all of your supplies in my Online Store: www.carolpayne.stampinup.net

Or click on any image below to find it in my store:

Product List

Owl Punch

$16.95

Until tomorrow, have a Stampingrox! day!

All images ©Stampin'Up!™1990-2014

Theme: Overlay by Kaira
Bonnie, Illinois, USA