Stampin’ Up! Pansy Punch Bunny!
Hey there! Just a quick post tonight. I spent the last 12 hours at Jessica's, plowing through all the paperwork, getting all her numbers ready for her tax lady, and I am pooped! We got it all done, so we can breathe a sigh of relief!
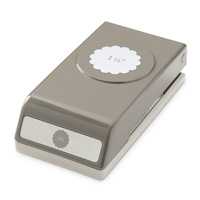
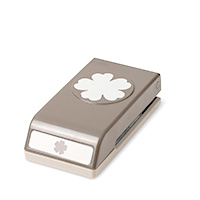
I do have a cute little treat holder to show you, using the Scalloped Tag Topper Punch for the holder and the Pansy Punch for the bunny ears:
Isn't this the cutest little itty-bitty bunny? She was really quick and easy to make, too!
I hope to be able to share the directions for both the treat holder and the bunny soon, but now I must send my self to bed. My cold has been much better today. I think I may NOT have a sinus infection, but I've got to get some rest so that trend continues! Hopefully tomorrow I can share directions and pictures to make this fun little treat!
ETA 3/26/14: Here's a punch page showing all the punches I used to make the bunny:
And here's a quick tutorial to make the Scalloped Tag Topper treat holder:
Punch both ends of a 8 1/2" x 2" strip of Coastal Cabana cardstock with the Scallop Tag Topper Punch. Score the center of the strip at 4 1/8" after you have punched. Score 3/4" on either side of the center scored line. Fold along the two outer score lines to create the base of the treat holder.
Cut about 1 or 1 1/2" from scalloped end with Paper Trimmer, cutting only half-way across to create a slit. Flip paper over and cut other end. You will be cutting a slit on the opposite side of the end.
This is what your slits will look like:
Bring the ends of the treat holder together, sliding the slits over each other to close the top:
When you are done the top of your holder will look like this:
That's all for now! Please visit my Online Store to shop and purchase your supplies to create this fun little cutie!
Until tomorrow, have a Stampingrox! day!
Click on any image below to go to my Online Store: